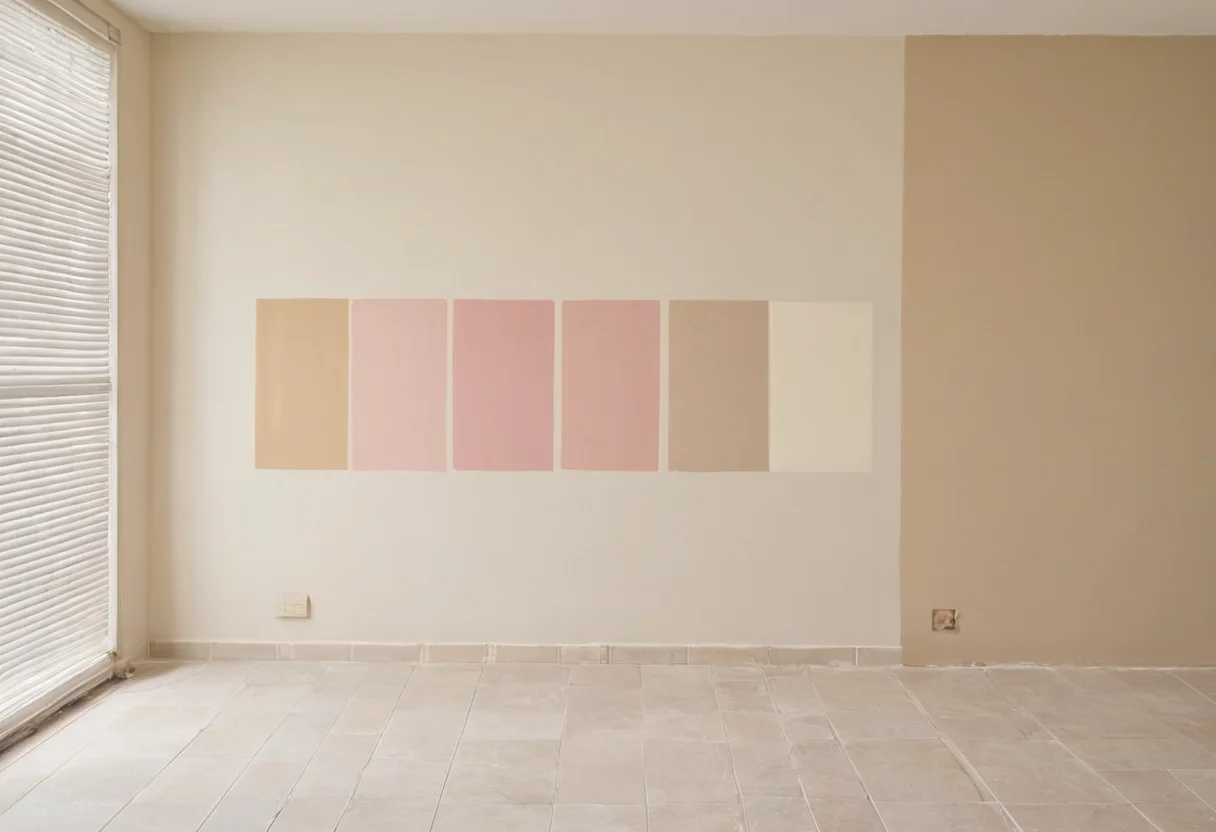
There is no reliable “whole-house white” until it has been tested in the whole house. The same paint can appear chalky in a shaded bedroom, creamy beside oak and slightly green beside a cool stone floor.
Test relationships, not chips
Paint at least an A2-size sample on two planes in each room. Observe it in daylight and again with the lamps that will actually be installed. Bedside light is especially revealing because it is seen from a low position; our guide to planning light from the pillow explains why standing tests miss glare and colour shifts.
Place fixed materials against the sample. A white selected before the timber can amplify an unwanted red or grey undertone, so settle the approach to combining timber tones first. In bathrooms, compare paint with the complete wet- and dry-zone material hierarchy, not with one tile in isolation.
Allow controlled variation
Adjacent rooms do not need the same formula; they need a believable transition. Keep one variable stable—perhaps brightness or undertone—while shifting another to suit the light. A narrow passage may need a clearer, less creamy white than the living room, particularly when using the lighting rhythm described in the intentional corridor plan.
The final check
Review the painted rooms without decorative objects. The quiet-wall method in The Case for One Unfinished Wall is useful here: if natural light already gives a surface enough variation, extra colour blocking may only add noise.
Choose the white that connects the permanent materials through the day, not the one with the most attractive name on the card.